How to Use a Throwing Bucket
last updated 27 March 2025.
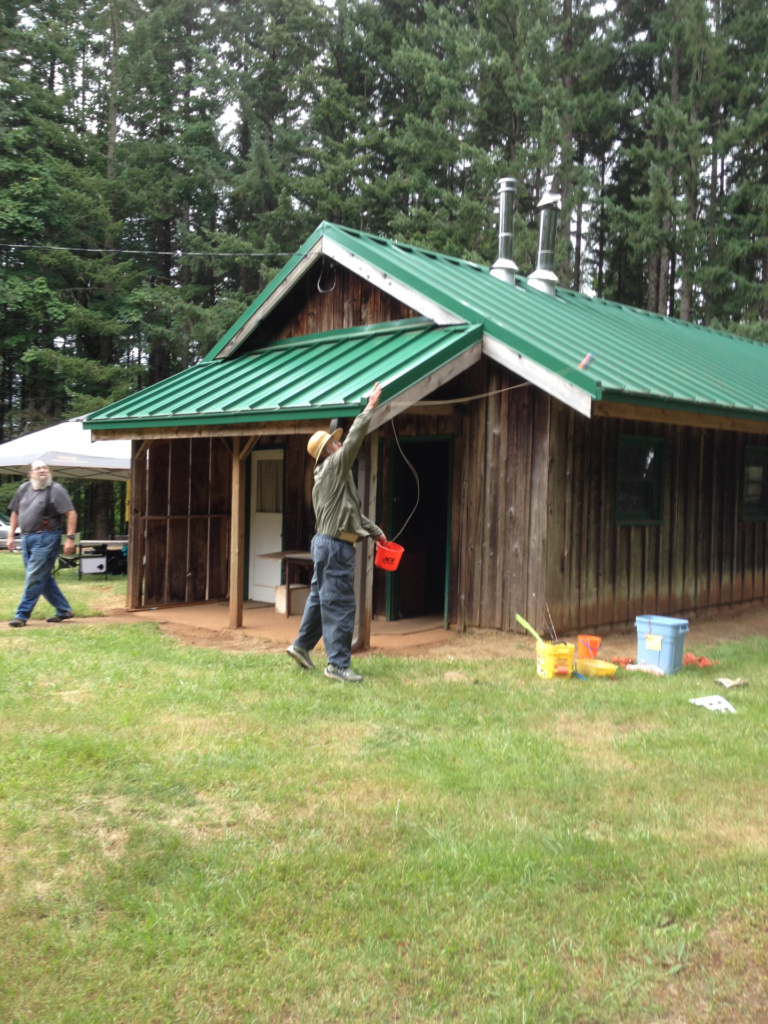
A throwing bucket makes it relatively easy to throw a rope over a tree branch 15 or 20 m (40 to 65 ft) above the ground.
It does take practice, but it is not difficult, and uses common materials.
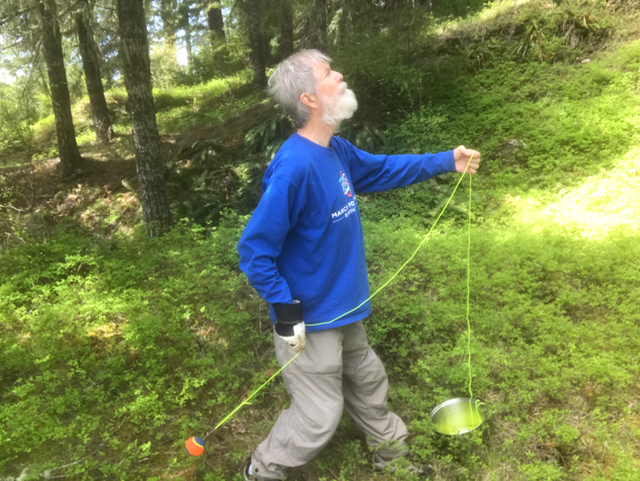
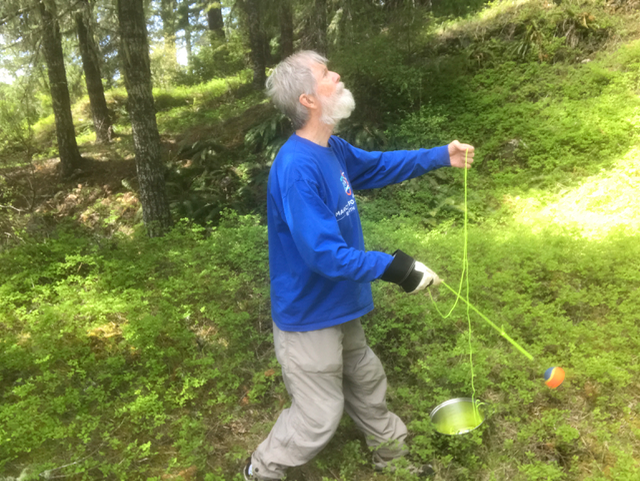
Here I am caught in the act at Field Day.
Watch the videos:
Video #1: simple demonstration
Video #2: longer demonstration
Materials for a throwing bucket
- Bucket or other container
- Rope
- Throwing weight
- Gloves
Bucket
I use a cheap plastic bucket, about 4 liters (1 gallon), sold for painting, but a wide variety of other household items will work just as well: dishwashing pan, cooking pot, large glass jar, a cardboard box, or an upside-down hat. Originally I just laid out the rope on a tarp, blanket, or large towel. The important thing is that the inside be fairly smooth, so the rope doesn’t catch as it runs out.
It is convenient if the container has some way to attach one end of the rope to it: I clip it to the handle of a bucket or cooking pot. This isn’t necessary, but makes it easier.
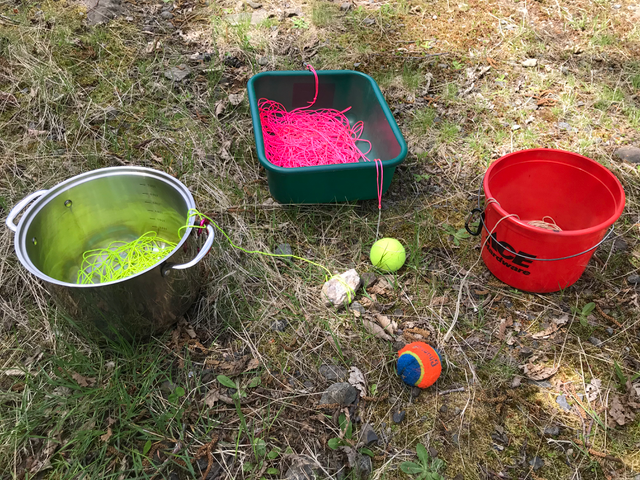
The optimum size bucket depends somewhat on the rope you are using. In my experience, I have fewer tangles with the 20 cm (8 inch) red bucket shown in the photo below than with the larger cooking pot or dishpan when using lighter rope: this seems to be because the rope comes slightly up the sides of the bucket. A stiffer rope works better with larger buckets, which also makes it easier to feed the rope into the bucket, so experiment and see what works best for you.
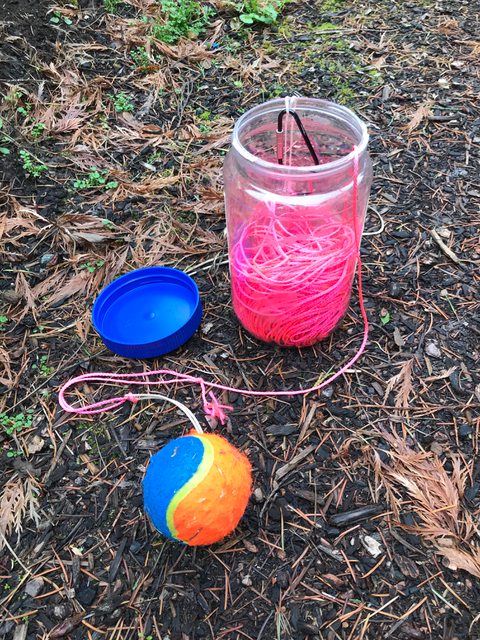
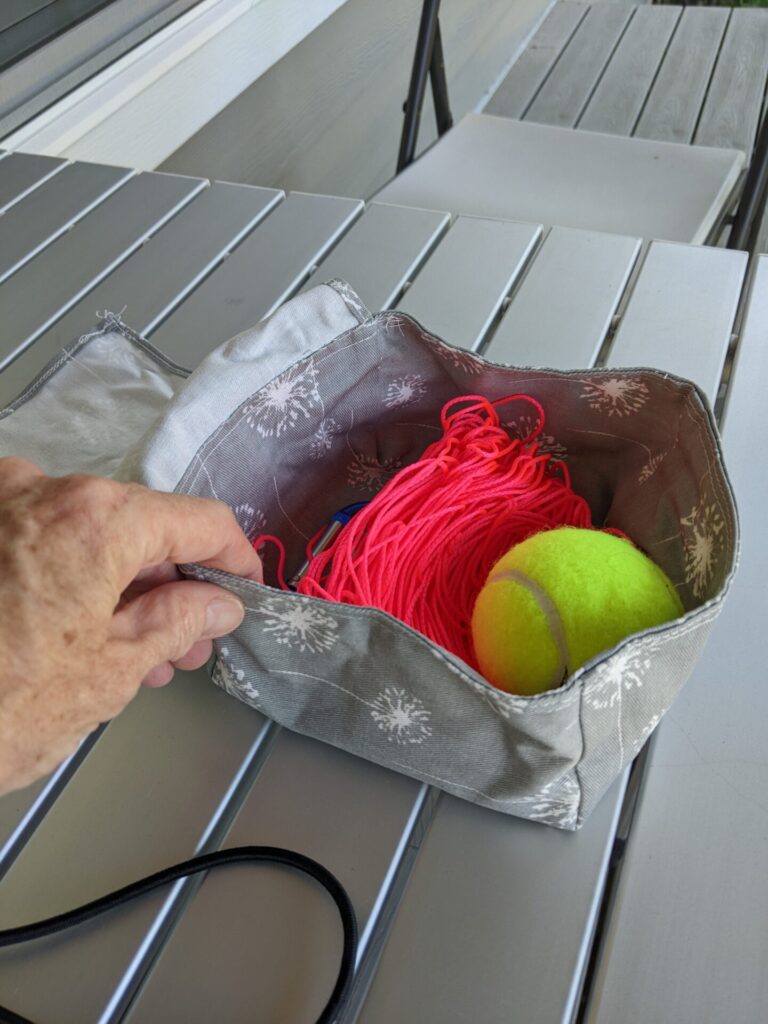
Recently I’ve tried a smaller container – a plastic food jar about 1.5 liter (48 oz. peanut butter jar) with a wide mouth and a screw lid. It actually works quite well, and it can be closed up with the ball inside for transport, although it takes a little longer to put the rope back inside. It features in my videos about setting up dipole antennas. Meanwhile, Kathleen K7KER sewed a container for her throwing “bucket” for SOTA work, so it takes up less room in her backpack.
Rope
The choice of rope makes a surprising difference in performance. If the rope is too soft, it tends to snag on the tree bark and it is more difficult to get the weight back down to the ground. My preference is a small, smooth, tightly braided (rather than twisted) rope or string. The lighter the string is, the higher you can throw the weight (which has to lift the weight of the string). At the same time, thinner lines are more difficult to grip, which is also important for good height. I started with lines around 2mm ( 0.08 inch ) diameter, and found I could easily get an extra 3m (10 ft) of height when I switched to 0.5mm ( 0.02 inch ) braided fishing line, but I had to add a section of larger 5mm ( 3/16 inch ) rope at the weight end to hold when I am throwing it.
I often recommend 1.2mm to 1.5mm (#12 to #18) braided mason’s twine if you are going to buy rope, as it is commercially available in many hardware stores or on the internet, and is available in bright colors. That is the bright pink rope in the photos. It shows up very well in my videos, and makes it easier to see in the trees.
Obviously the rope needs to be at least twice the height of the tree if you want the weight to come back down to ground level, and 2.5 or 3 times the height is safer to account for horizontal distance. You don’t actually need quite that much if you tie on a second piece of rope once you get the weight over the branch. However, I find it works better to let the weight come as far down the tree as it can on its own without stopping: that uses the momentum of the weight to overcome friction. If the weight stops, I have to shake and jerk on the rope to get it to move again, and there is more chance that a hanging weight will try to wrap around a branch.
When I get a new rope, one of the first things I do is to work the twists and kinks out of it. (How you unroll it from the spool can make a big difference in how twisted it is.) One of the best methods is to unroll it on the ground and walk the length of it a few times, trying to work the twists down the the ends. The more it twists up on its own, the more likely it is to tangle in the bucket. A few practice tosses over a tree, and then feeding it back into the bucket, will also help remove the twists.
Throwing Weight
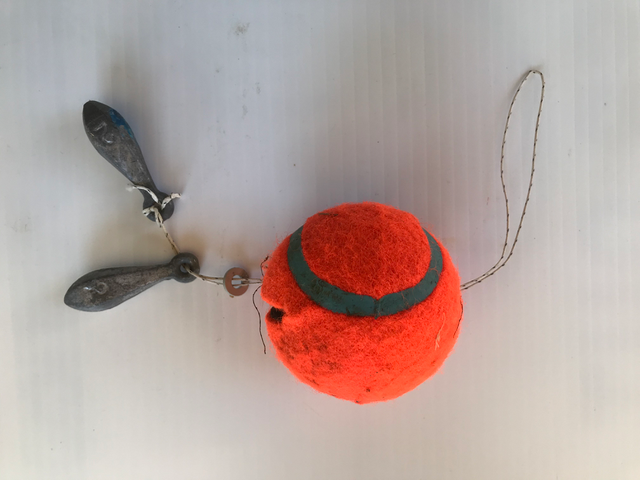
My favorite is a weighted tennis ball, as they are easy to see, and do not appear threatening to other people in the area. A standard ball weights about 60 g (2 ounces), and I generally add another 120 to 180 g (4 to 6 oz.) of fishing weights inside. Experiment with the weight to find what works best for your arm, rope, and tree height. For backpacking, I pick up local rocks. A plastic water bottle, wrench, old car part, transformer, hockey puck, or old sock full of sand have also been used. (One writer used his antenna tuner as a throwing weight.) I have a slightly higher success rate with solid objects that bounce off a branch instead of something like a bag of sand that dissipates its energy when it hits, but use what you have available.
The weight needs to be easy to tie to (and untie from) the rope. That’s because, when you miss the target branch, it is easiest to remove the weight and pull the rope back through the tree. Usually this means some sort of hole that I can pass the rope through. For a tennis ball, I make a slice in one side and drill a hole opposite it: then I make a loop of thin rope, pass it through the hole, put a washer over it (so it doesn’t rip out the hole), add some fishing weights on the loop, then push everything into the ball and pull the loop tight. I tie a loop on each end of rope large enough to pass over the ball, and the ball is secured by passing this loop through the loop on the ball, then around the ball.
With rocks, I look for one (or several) about the size and shape of my fist. I make a slip knot in the end of the rope and wrap the rope twice around the rock. Often the rock falls out when it hits the ground (and occasionally in the air), which is why I start with several rocks.
Gloves
Actually you only need one, on your throwing hand. Otherwise you can get rope burns as the rope slips between your fingers if you can’t grip it tightly enough. I use leather work gloves.
Assembling the bucket
Tie a loop in both ends of the rope. Attach one end to the bucket, preferably with some sort of clip that can be undone easily.
Starting with the end you just tied, gently feed the rope into the bucket hand-over-hand, as if you were lowering a weight on the end. The rope should just coil up irregularly in the bottom and up the sides of the bucket.
Attach the weight to the loop on the other end of the rope. At this point, I can place the weight in the bucket and carry it to where I need it.
Preparation for throwing
Make sure the area to throw is safe: no power lines or other hazards, and no extra people, cars, or windows nearby that might get hit when the throw doesn’t go as planned.
With a large tree, choose a target branch if possible. In other cases you might just throw over the whole tree, or into a tree, and hope for the best.
Set the bucket on the ground in a clear area, roughly half the target height back from the tree. You will get a sense of what vertical angles are most comfortable for you to throw: generally it will be steeper than 60 degrees, and less than about 80 degrees.
Stand a bit behind the bucket, so it is on the side opposite your throwing arm.
Throwing
Hold the rope so the weight hangs down below your hand, but clear of the ground and grass or other clutter. You need a good grip on it so it doesn’t slip out, while still being able to release it smoothly.
Swing the weight gently back and forth with your arm, so that the direction of swing is pointing towards the target branch. I use my other hand to hold the rest of the string out of the way. In the photos below, the pot is tall enough that the rope doesn’t tangle on the low plants if I hold the rope up with my other hand.
Increase the swing distance slightly, then swing your arm way back, and with the forward swing, fling the weight as hard as you can upwards. (Remember to let go of the rope with the other hand, too!) Let the rope pay out from the bucket, and keep out of the way if the weight goes straight up in the and comes straight back down.
If the weight goes forward at too flat of an angle, you are releasing it too early, and may need a better grip on the rope. Sometimes I have to form a small loop of rope and hold it between several fingers, but make sure you can still let go of it easily at the right time. If this is too much of a problem, use 1 to 1.5 m (3 to 5 ft) of thicker rope between the weight and the main rope to make it easier to grip.
When you miss your target, take the weight off the end and feed the line back into the bucket as you pull it back through the tree.
If you forgot to tie the end of the rope to the bucket, then you might find the whole length of the rope following the weight over the tree and back down to the ground. Unless it gets snagged, in which case it may be impossible to get back down.
Hoisting the Antenna
I don’t use my good throwing ropes to support antennas. Instead I use them to pull up the actual support ropes, then put them back in the bucket so they are ready for the next antenna. But that’s because I may be setting up several antennas, or may need several supports for one antenna (like a horizontal loop): if you only have one antenna and one tree, go ahead and use the same rope for both uses.
Depending on the most convenient access to the tree, you might need your support rope running either direction. That is why you have a loop on both ends of the throwing rope! Once the weight is back on the ground, you can take it off the throwing rope and attach your main support rope, then pull it through the tree using the throwing rope. This is often the simplest method if, for example, you are setting up a station in a clear field surrounded by trees. However, sometimes you want the rope to run the other direction: in that case, disconnect the rope end from the bucket, tie the support end to that, and pull on the weighted end of the throwing rope to get the rope through the tree.
Then put the rope back in the bucket (tied to the bucket at one end, of course) for the next use.